How to Rebuild a Historic Window Sill
How to Rebuild a Historic Window Sill
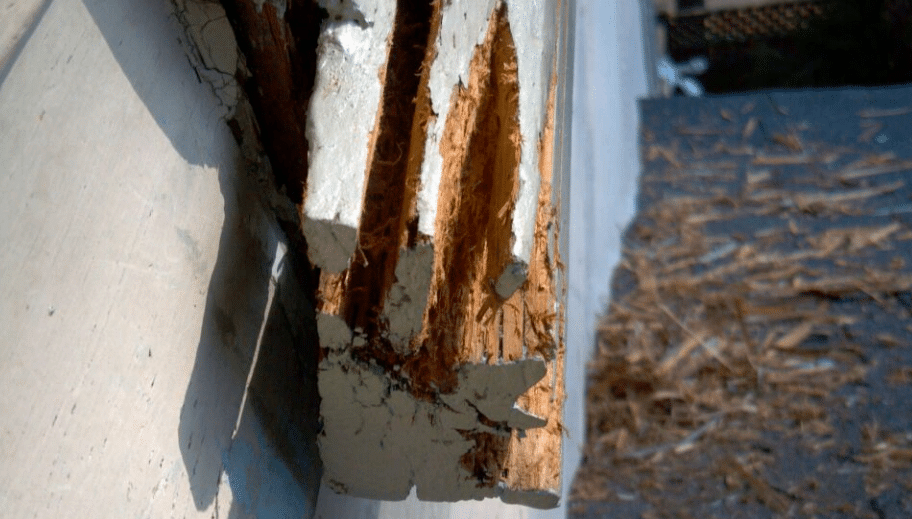
Whenever we approach a project on a historic house, nearly universally we have to deal with rot. Rot in window sills, rot in columns, rot in framing, and rot in siding and trim are among the worst enemies to aging houses. For the last five years, Red House carpenters have been using a product specified by the U.S. government for official restorations. And it is perfect for a situation like this window sill from 1840. This article explains how to rebuild a historic window sill.
Why Do Window Sills Rot?
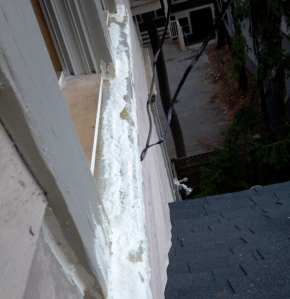
This 1840s window sill is made of ‘nearly’ bomb-proof exterior grade wood. The wood has successfully kept the building envelope of this house dry for 171 years. Not a bad track record. Unfortunately, it has undergone several prolonged periods of paint neglect.
Without paint, wood absorbs moisture from surface water. This causes wood to expand, and then as the weather clears, the wood contracts. When this moisture cycle is repeated over and over again the wood starts to check, which means denser and softer parts of the wood begin to separate due to differing expansion rates of different parts of the wood. Think of the winter and summer growth rings on a tree trunk. These absorb and release moisture at different rates, and they expand as they absorb moisture. Once these checks open, they form crevasses that hold surface water. These crevasses exasperate the checking process and also create a perfect breeding ground for microorganisms, even in high-quality exterior wood. This is how rot begins.
Replacing a Historic Sill
Fast forward to where we are now. This historic sill is integrated into two side by side windows. There is no off-the-shelf option for replacement of the 2-3/4” thick face on this sill available in modern stores. The wood options available for the replacement sill are limited and expensive, especially if we are trying to achieve the same durability and longevity as the original. Facing these obstacles while being aware of the intrinsic value of leaving as much of the original fabric of a house as possible, Red House uses an epoxy system to salvage and re-use high-quality historic wood when it makes sense economically and structurally.
Removing the Rot
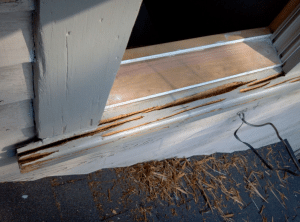
For this sill, we dug out as much of the loose material as possible. This may involve cutting through the soft surface of the wood to access rotted material underneath. What remains must be dry before the initiation of the restoration process. We achieve dryness through time and shelter, or we employ various solvents to speed the process.
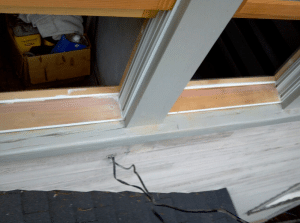
Once the wood is dry on the interior of the sill, we mix and apply a liquid consolidant. The consolidant penetrates through any softwood remaining in the sill, binding it to the solid wood still remaining underneath. It remains slightly flexible so it can move with future seasonal expansion and contraction cycles. The consolidant acts as a primer for the next step. We apply as much of the consolidant as the wood will absorb, then we apply a paste-like epoxy compound to build up and re-create the missing part of the sill. This re-creation has to cure until completely hard, a process that can be sped up with the application of heat.
Reforming the Sill
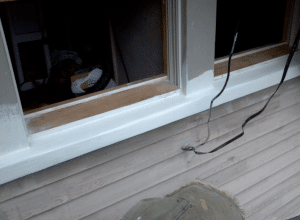
After the epoxy is cured, we employ multiple types of sanders (always with a Hepa vacuum attached) to “sculpt” the fill material back to the original dimensions. Once the shape is finished, the material can be primed and painted the same as any other wood on the house.
Our finished product now has heritage and protection. It retains the originally selected antique heart pine from 1840 with all its rot-resistant qualities. The original wood is now combined with an epoxy product that is itself unaffected by moisture and impervious to rot. And, as with this example, we often tool the new product with eased edges to match the worn edges of the other existing sills on the house.
If you have a historic home in need of repair, contact Red House today. We are Rhode Island’s historic renovation experts.
- Category :
- Type :


